Create wave solder pallets
With this new module, you can quickly design a pallet for transporting a board or panel through a solder wave. Solder pallets are useful when working with small, thin or irregular boards, as well as with boards that have both PTH components and solder-side SMT components.

Two styles of pallets are supported:
- A wave solder pallet exposes the entire board to the solder wave.
- A selective wave solder pallet exposes only specified regions of the board to the solder wave.
Creating a selective wave solder pallet is easy:
- Select a material and thickness and specify component pocket depths.
- Place board fasteners at desired locations around the board.
- Draw "opening" outlines around the components to be soldered.
- Draw "pocket" outlines around the solder-side components that are covered by the pallet.
- Generate a milling file for the pallet.
All other elements of the pallet are calculated automatically. This includes edge rails, bottom side bevels, pallet floor, seal walls, etc.
Creating a wave solder pallet is even easier, since steps 3 and 4 above are unnecessary.
Note: Selective wave soldering requires some planning during board layout, in order to have sufficient clearance between wave-soldered components, and components which must be shielded from the solder wave.
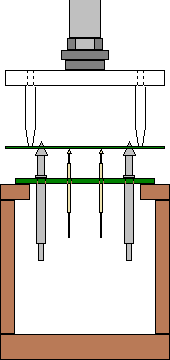
PCB as test fixture
 The Test Fixture Designer module has been expanded to allow creating a PCB test fixture.
Rather than using a sheet of fixture material as a holder for the test pins, it may sometimes be more useful to mount the test pins directly into a PCB.
For a standard test jig, choose Lower w/ PCB. For other jigs, choose Lower - flat and set the thickness to 3.2.
Use the Gerber button to export the fixture outline and holes to a Gerber file, which may then be imported to your CAD system for further design.
Import module improvements
PnP format specifier dialog box
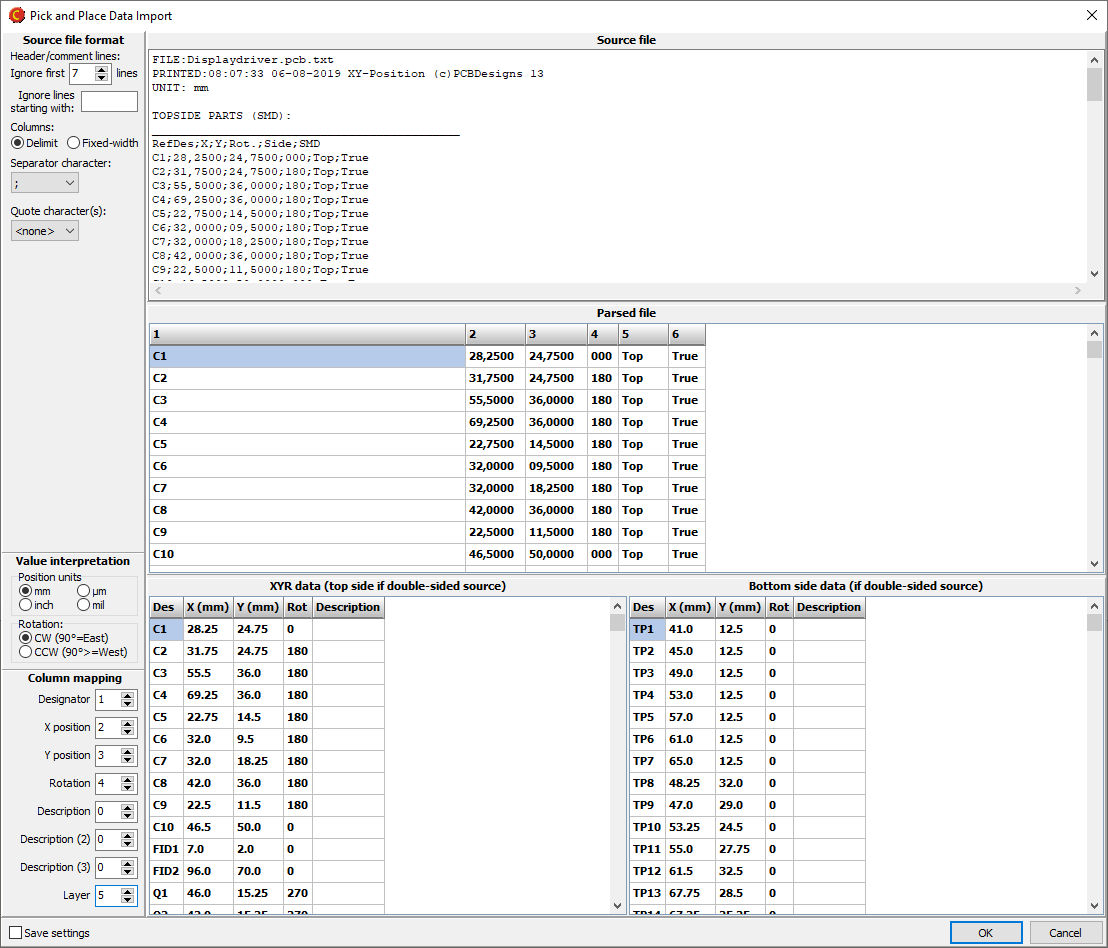
When importing a Pick and Place file, if the file format is not automatically recognized, you can specify the format as necessary.
Mark holes as press-fit
It is now possible to mark holes as press-fit. This is done by right-clicking on the appropriate tool(s) in the drill tool list, and selecting Via protection/Press-fit|Press-fit.
Laser cutter tool size for flex boards
For flex boards, it is possible to choose Laser as a cutter diameter. Note: Laser is only suitable for outer and inner contours.
Backdrill layers
Drill files may be assigned to backdrill layers.
Export improvements
Pick and Place format
It is now possible to specify the format of exported PnP data. You may choose between delimited or fixed-width columns and specify which field is mapped to which column. You may also select the unit of measure for X/Y coordinates and whether rotations should be clockwise or counter-clockwise. You may also specify a file header text, as well as the text to use for top/bottom sides if a layer column is exported.
Export profiles
Export profiles have been expanded to store all export settings in the profile. In addition to filename patterns, each profile now also includes drill file format, PnP format, inclusion of additional files, and Gerber X2 attributes
Other improvements
Configuring network paths
In the Macaos Gallery Options dialog box, it is now possible to right-click and enter a path (such as for the location of the Gallery Archive). This is useful for entering network paths which are not found in the folder chooser dialog box.
Stencil improvements
An operation has been added to the Transfer module which copies all toolinig holes from the panel frame to the stencil.
It is now possible to specify the size of text in stencil frames.
Pro version improvements
Support for shipment methods
The price engine has been expanded to add support for multiple shipment methods. See What's new in version 2.2 in the Pro Version Features user guide for a detailed explanation.
Seller's part number
In the Quotation details dialog box, it is now possible to specify the seller’s part number. This will show in the printed quotation (if supported by your quotation template).